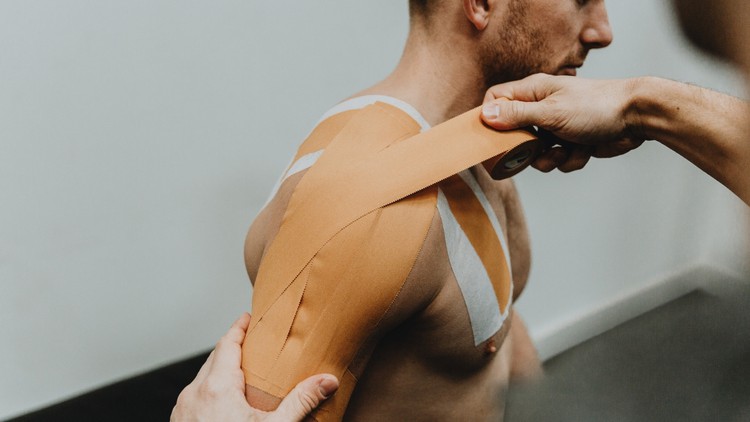
How to strap a shoulder
Strapping a shoulder using rigid strapping tape is a technique commonly employed to provide stability and support, especially during sports activities or after injury. Proper shoulder strapping helps reduce the risk of further injury by limiting excessive movement and providing reinforcement to the joint. Below is a detailed guide on how to strap a shoulder using rigid strapping tape effectively:
- Gather Materials: Begin by gathering the necessary materials, including rigid strapping tape, scissors for cutting the tape, and optionally, pre-wrap or adhesive underwrap for skin protection.
- Prepare the Shoulder: Ensure the shoulder is clean and dry before applying any tape. If desired, apply pre-wrap or adhesive underwrap to protect the skin and enhance comfort.
- Position the Arm: Position the arm in a comfortable and slightly raised position to allow for ease of movement during the strapping process.
- Anchor the Tape: Start by anchoring the tape on the upper chest or collarbone area, just above the injured shoulder. Secure the end of the tape firmly but not too tightly to avoid cutting off circulation.
- Wrap Around the Shoulder: Begin wrapping the tape around the shoulder in a circular motion, starting from the front and moving towards the back. Ensure each wrap overlaps slightly to provide uniform support.
- Secure the Arm: As you wrap around the shoulder, gently bring the arm close to the body to provide additional support and stability. The goal is to immobilize the shoulder joint while allowing for some flexibility in movement.
- Continue Wrapping: Continue wrapping the tape around the shoulder, ensuring the tension is firm but not overly tight. Be mindful of the alignment and positioning to maintain proper support.
- Cover the Shoulder: After several wraps, finish by wrapping the tape around the shoulder once or twice horizontally to provide additional stability. Secure the end of the tape firmly but comfortably.
- Cross Over the Shoulder: For additional reinforcement, consider wrapping the tape diagonally across the front of the shoulder and over the back. This crossing pattern helps distribute pressure and provide extra support.
- Trim Excess Tape: Use scissors to trim any excess tape, ensuring a neat and tidy finish. Be careful not to cut the tape too close to the skin to prevent it from unraveling.
- Test Mobility: Once the shoulder is securely strapped, test the mobility by gently moving the arm in different directions. The shoulder should feel supported and stable, with minimal movement beyond the normal range of motion.
- Reinforce if Necessary: If additional support is needed, especially for high-impact activities or severe shoulder injuries, consider applying a second layer of tape using the same wrapping technique.
- Monitor Comfort: Throughout activity, monitor the comfort and fit of the strapping. If the tape feels too tight or uncomfortable, remove and reapply as needed to prevent discomfort or skin irritation.
- Remove Carefully: When it’s time to remove the tape, carefully peel it off, starting from the anchor point. Pull gently and slowly to avoid causing any pain or skin irritation.
Strapping a shoulder using rigid strapping tape is an effective way to provide support and stability, whether for athletic performance or injury prevention. By following these steps and ensuring proper tension and alignment, individuals can effectively protect their shoulders and reduce the risk of injury during physical activity.
